Step-by-Step CNN Architecture: How Images Flow Through a Neural Network

Step-by-Step CNN Architecture: How Images Flow Through a Neural Network

Follow how images move through each layer of a neural network

Author
Nguyen Bao Huy
15:51:00 27/04/2026
1 min read
0 comments

Here we implement a Convolutional Neural Network illustrating how each layer processes and transforms the input image.

Step 1: Import Required Libraries

Here we import TensorFlow for CNN operations and Matplotlib for visualization.

python
import tensorflow as tf
import matplotlib.pyplot as plt

plt.rc('image', cmap='gray')
plt.rc('figure', autolayout=True)

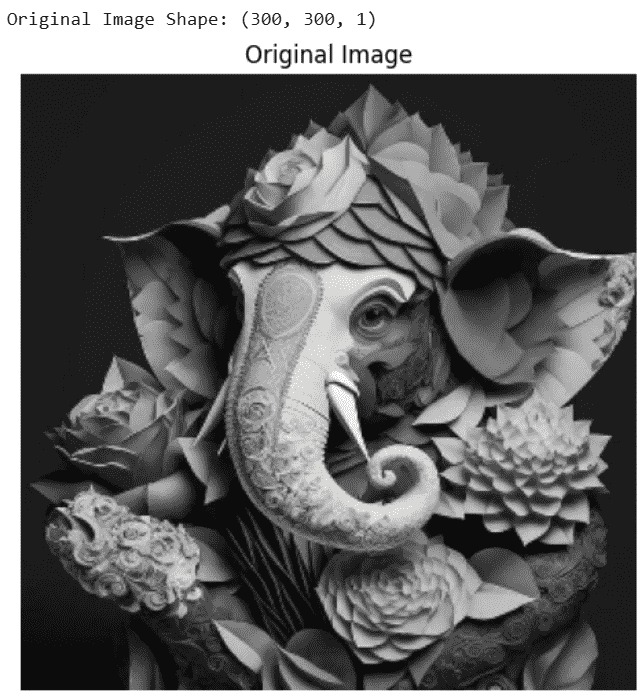
Step 2: Load and Preprocess the Image

Load the image convert it to grayscale, resize it to 300×300 and normalize pixel values.

python
image_path = "Image Path"

image = tf.io.read_file(image_path)
image = tf.io.decode_jpeg(image, channels=1)  
image = tf.image.resize(image, [300, 300])
image = tf.image.convert_image_dtype(image, tf.float32)

print("Original Image Shape:", image.shape)

plt.figure(figsize=(5,5))
plt.imshow(tf.squeeze(image))
plt.title("Original Image")
plt.axis('off')
plt.show()

# Add batch dimension
image = tf.expand_dims(image, axis=0)

Output:

Figure 4. Original Image sample result

Step 3: Define Convolution Kernel

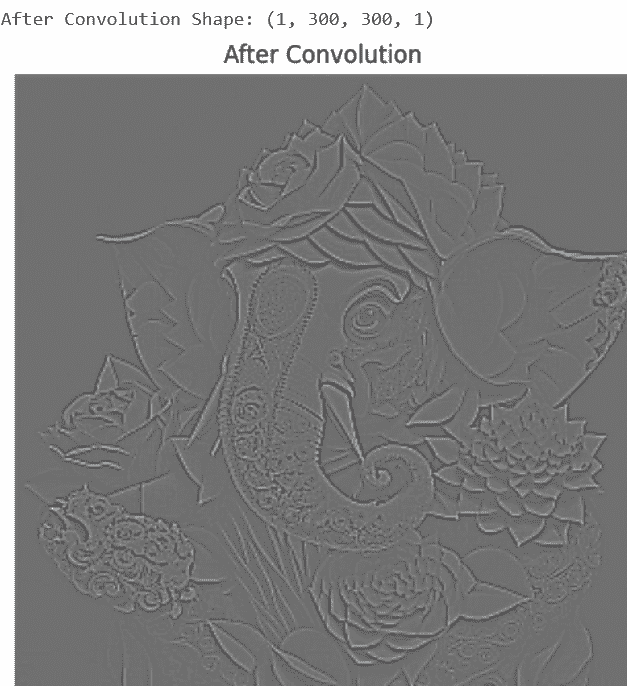
We define an edge detection filter (Laplacian kernel) to extract important image features.

python
kernel = tf.constant([
    [-1, -1, -1],
    [-1,  8, -1],
    [-1, -1, -1]
], dtype=tf.float32)

kernel = tf.reshape(kernel, [3, 3, 1, 1])

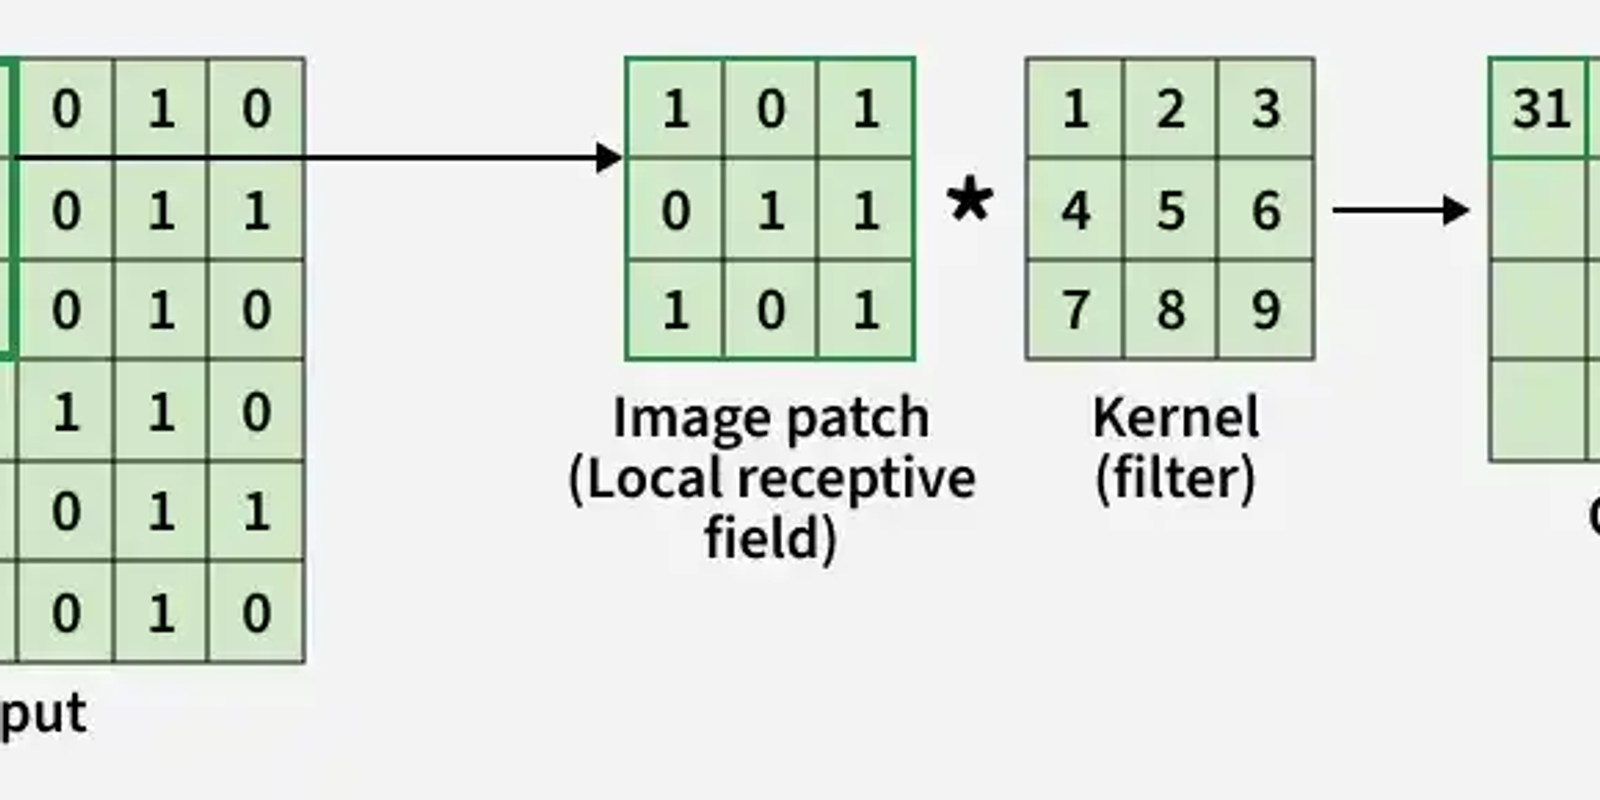
Step 4: Apply Convolution Layer

The convolution layer applies the filter to the image to detect edges and features.

python
conv_output = tf.nn.conv2d(
    input=image,
    filters=kernel,
    strides=[1, 1, 1, 1],
    padding='SAME'
)

print("After Convolution Shape:", conv_output.shape)

plt.figure(figsize=(5,5))
plt.imshow(tf.squeeze(conv_output))
plt.title("After Convolution")
plt.axis('off')
plt.show()

Output:

Figure 5. Image after convolution shape

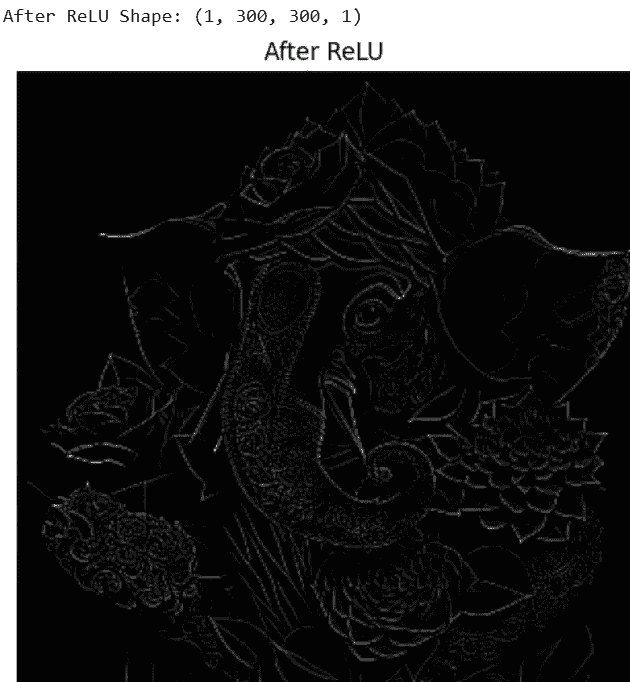
Step 5: Apply ReLU Activation Function

ReLU removes negative values and introduces non-linearity into the network.

python
relu_output = tf.nn.relu(conv_output)

print("After ReLU Shape:", relu_output.shape)

plt.figure(figsize=(5,5))
plt.imshow(tf.squeeze(relu_output))
plt.title("After ReLU Activation")
plt.axis('off')
plt.show()

Output:

Figure 6. After apply ReLU activation function for sample image

Step 6: Apply Max Pooling Layer

Max pooling reduces spatial dimensions while keeping important features.

Output:
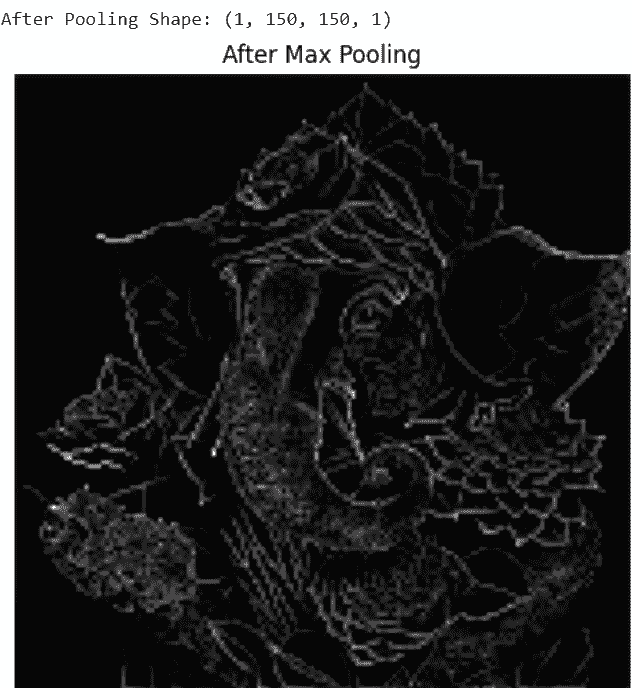
Figure 7. After apply max pooling layer

Step 7: Apply Flatten Layer

The flatten layer converts 2D feature maps into a 1D feature vector for fully connected layers

python
flatten_layer = tf.keras.layers.Flatten()
flatten_output = flatten_layer(pool_output)

print("After Flatten Shape:", flatten_output.shape)

print("First 20 Flattened Values:")
print(flatten_output.numpy()[0][:20])

Output:

javascript
After Flatten Shape: (1, 22500)

First 20 values of Flattened Vector:

[135.  81.  81.  81.  81.  81.  81.  81.  81.  81.  81.  81.  81.  81.

  81.  81.  81.  81.  81.  81.]

Step 8: Add Fully Connected (Dense) Layer

The fully connected layer learns high-level patterns from the flattened feature vector and produces output predictions.

python
dense_layer = tf.keras.layers.Dense(
    units=64,         
    activation='relu' 
)

dense_output = dense_layer(flatten_output)

print("After Fully Connected Layer Shape:", dense_output.shape)

Output:

javascript
After Fully Connected Layer Shape: (1, 64)

First Lesson

You are at the beginning of this curriculum.

Latest Tutorial

More chapters coming soon to this topic.

Author avatar

Nguyen Bao Huy

Lead Fullstack & AI Solutions Engineer

Specializing in Next.js App Router, React 19, TypeScript, and modern design systems. Passionate about creating seamless user experiences.

Discussion

0

No comments yet

Be the first to share your thoughts, question a concept, or provide additional tips!

Leave a Reply

Share your insights, questions, or solutions with the developer community.

Your avatar
0 / 500 characters