
CLAHE Histogram Equalization with OpenCV: A Python Guide
A hands-on tutorial for applying CLAHE to enhance local image contrast using Python and OpenCV
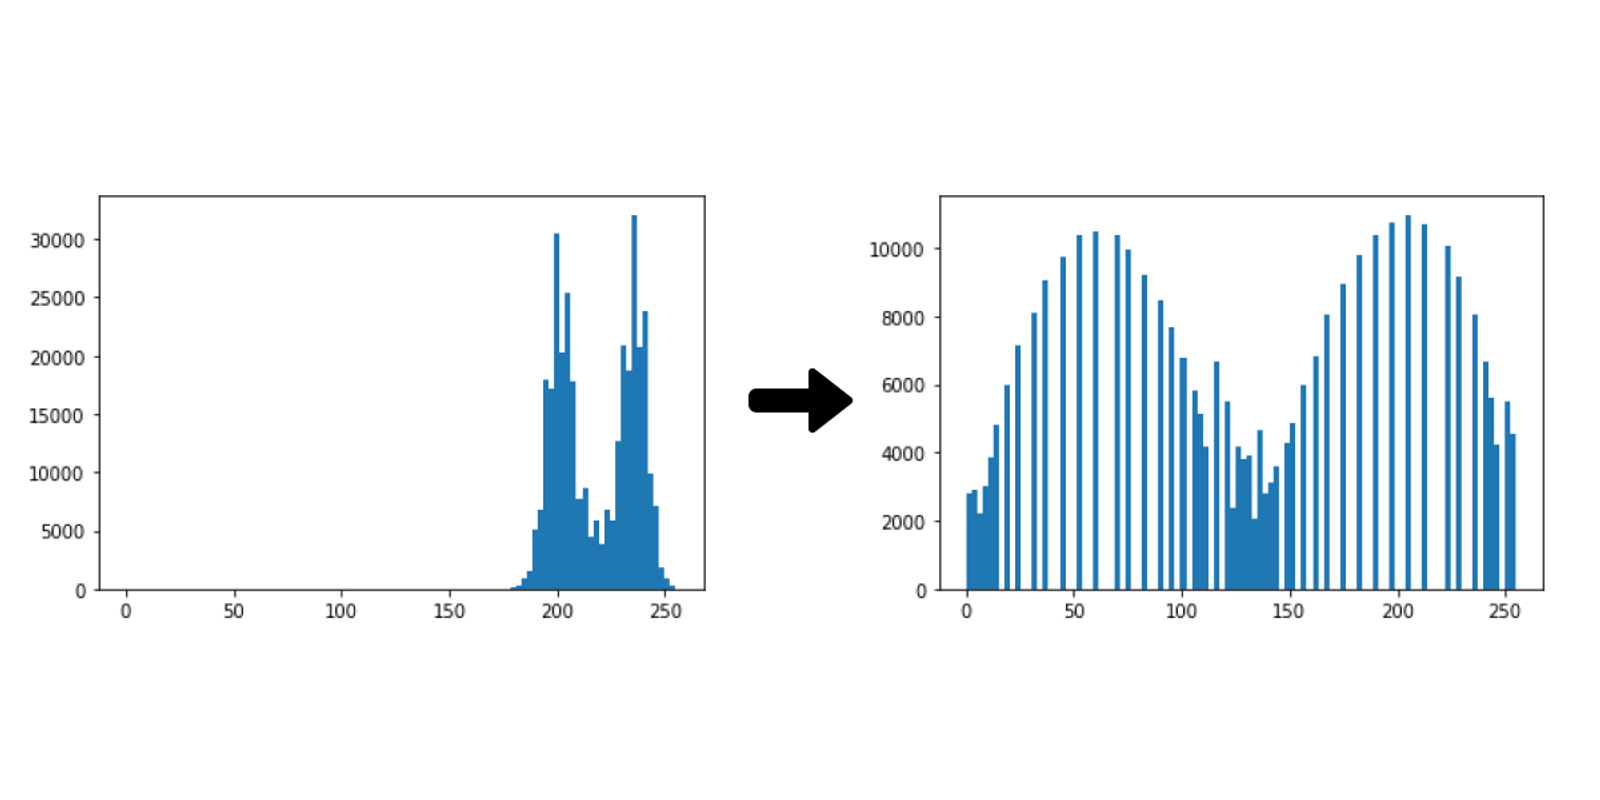
CLAHE (Contrast Limited Adaptive Histogram Equalization) is used to improve the contrast of images. In traditional methods, contrast of whole image changes but CLAHE works by dividing the image into smaller parts and adjust the contrast in each part separately. This helps in avoiding the image getting too bright or too dark in some areas. In this article, we’ll see how to use CLAHE in Python with OpenCV.
When applying CLAHE, there are two parameters to remember:
- clipLimit: This parameter sets the threshold for contrast limiting. By default value is 40.
- tileGridSize: It is used to divide the image into grids for applying CLAHE. It sets the number of rows and columns. By default this is 8x8.
We process each tile using adaptive histogram equalization, which adjusts pixel intensities based on the local distribution of pixel values. After processing the tiles, it combines them using bilinear interpolation to remove visible boundaries between the tiles. This step ensures that the transition between adjacent tiles is consistent and preserves the natural look of the image while enhancing contrast in local areas.
Now lets see implement this using python.
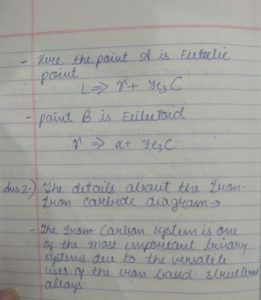
Input image:
- image_resized = cv2.resize(image, (500, 600)): Resizes the image to 500x600 pixels.
- image_bw = cv2.cvtColor(image_resized, cv2.COLOR_BGR2GRAY): Converts resized image to grayscale.
- clahe = cv2.createCLAHE(clipLimit=5): Creates a CLAHE object with a contrast limit of 5.
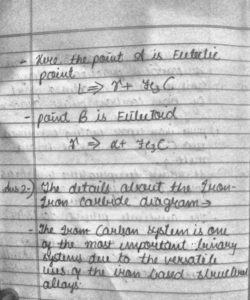
- clahe_img = np.clip(clahe.apply(image_bw) + 30, 0, 255).astype(np.uint8): Applies CLAHE to the image and adds 30 to the result which helps in clipping values to the valid range.
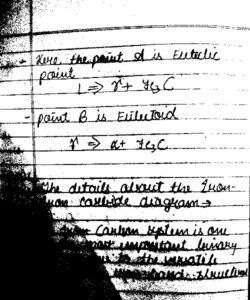
- _, threshold_img = cv2.threshold(image_bw, 155, 255, cv2.THRESH_BINARY): Applies binary thresholding to the grayscale image at a threshold of 155.
Output:



Leave a Reply
Share your insights, questions, or solutions with the developer community.
Discussion
0No comments yet
Be the first to share your thoughts, question a concept, or provide additional tips!